
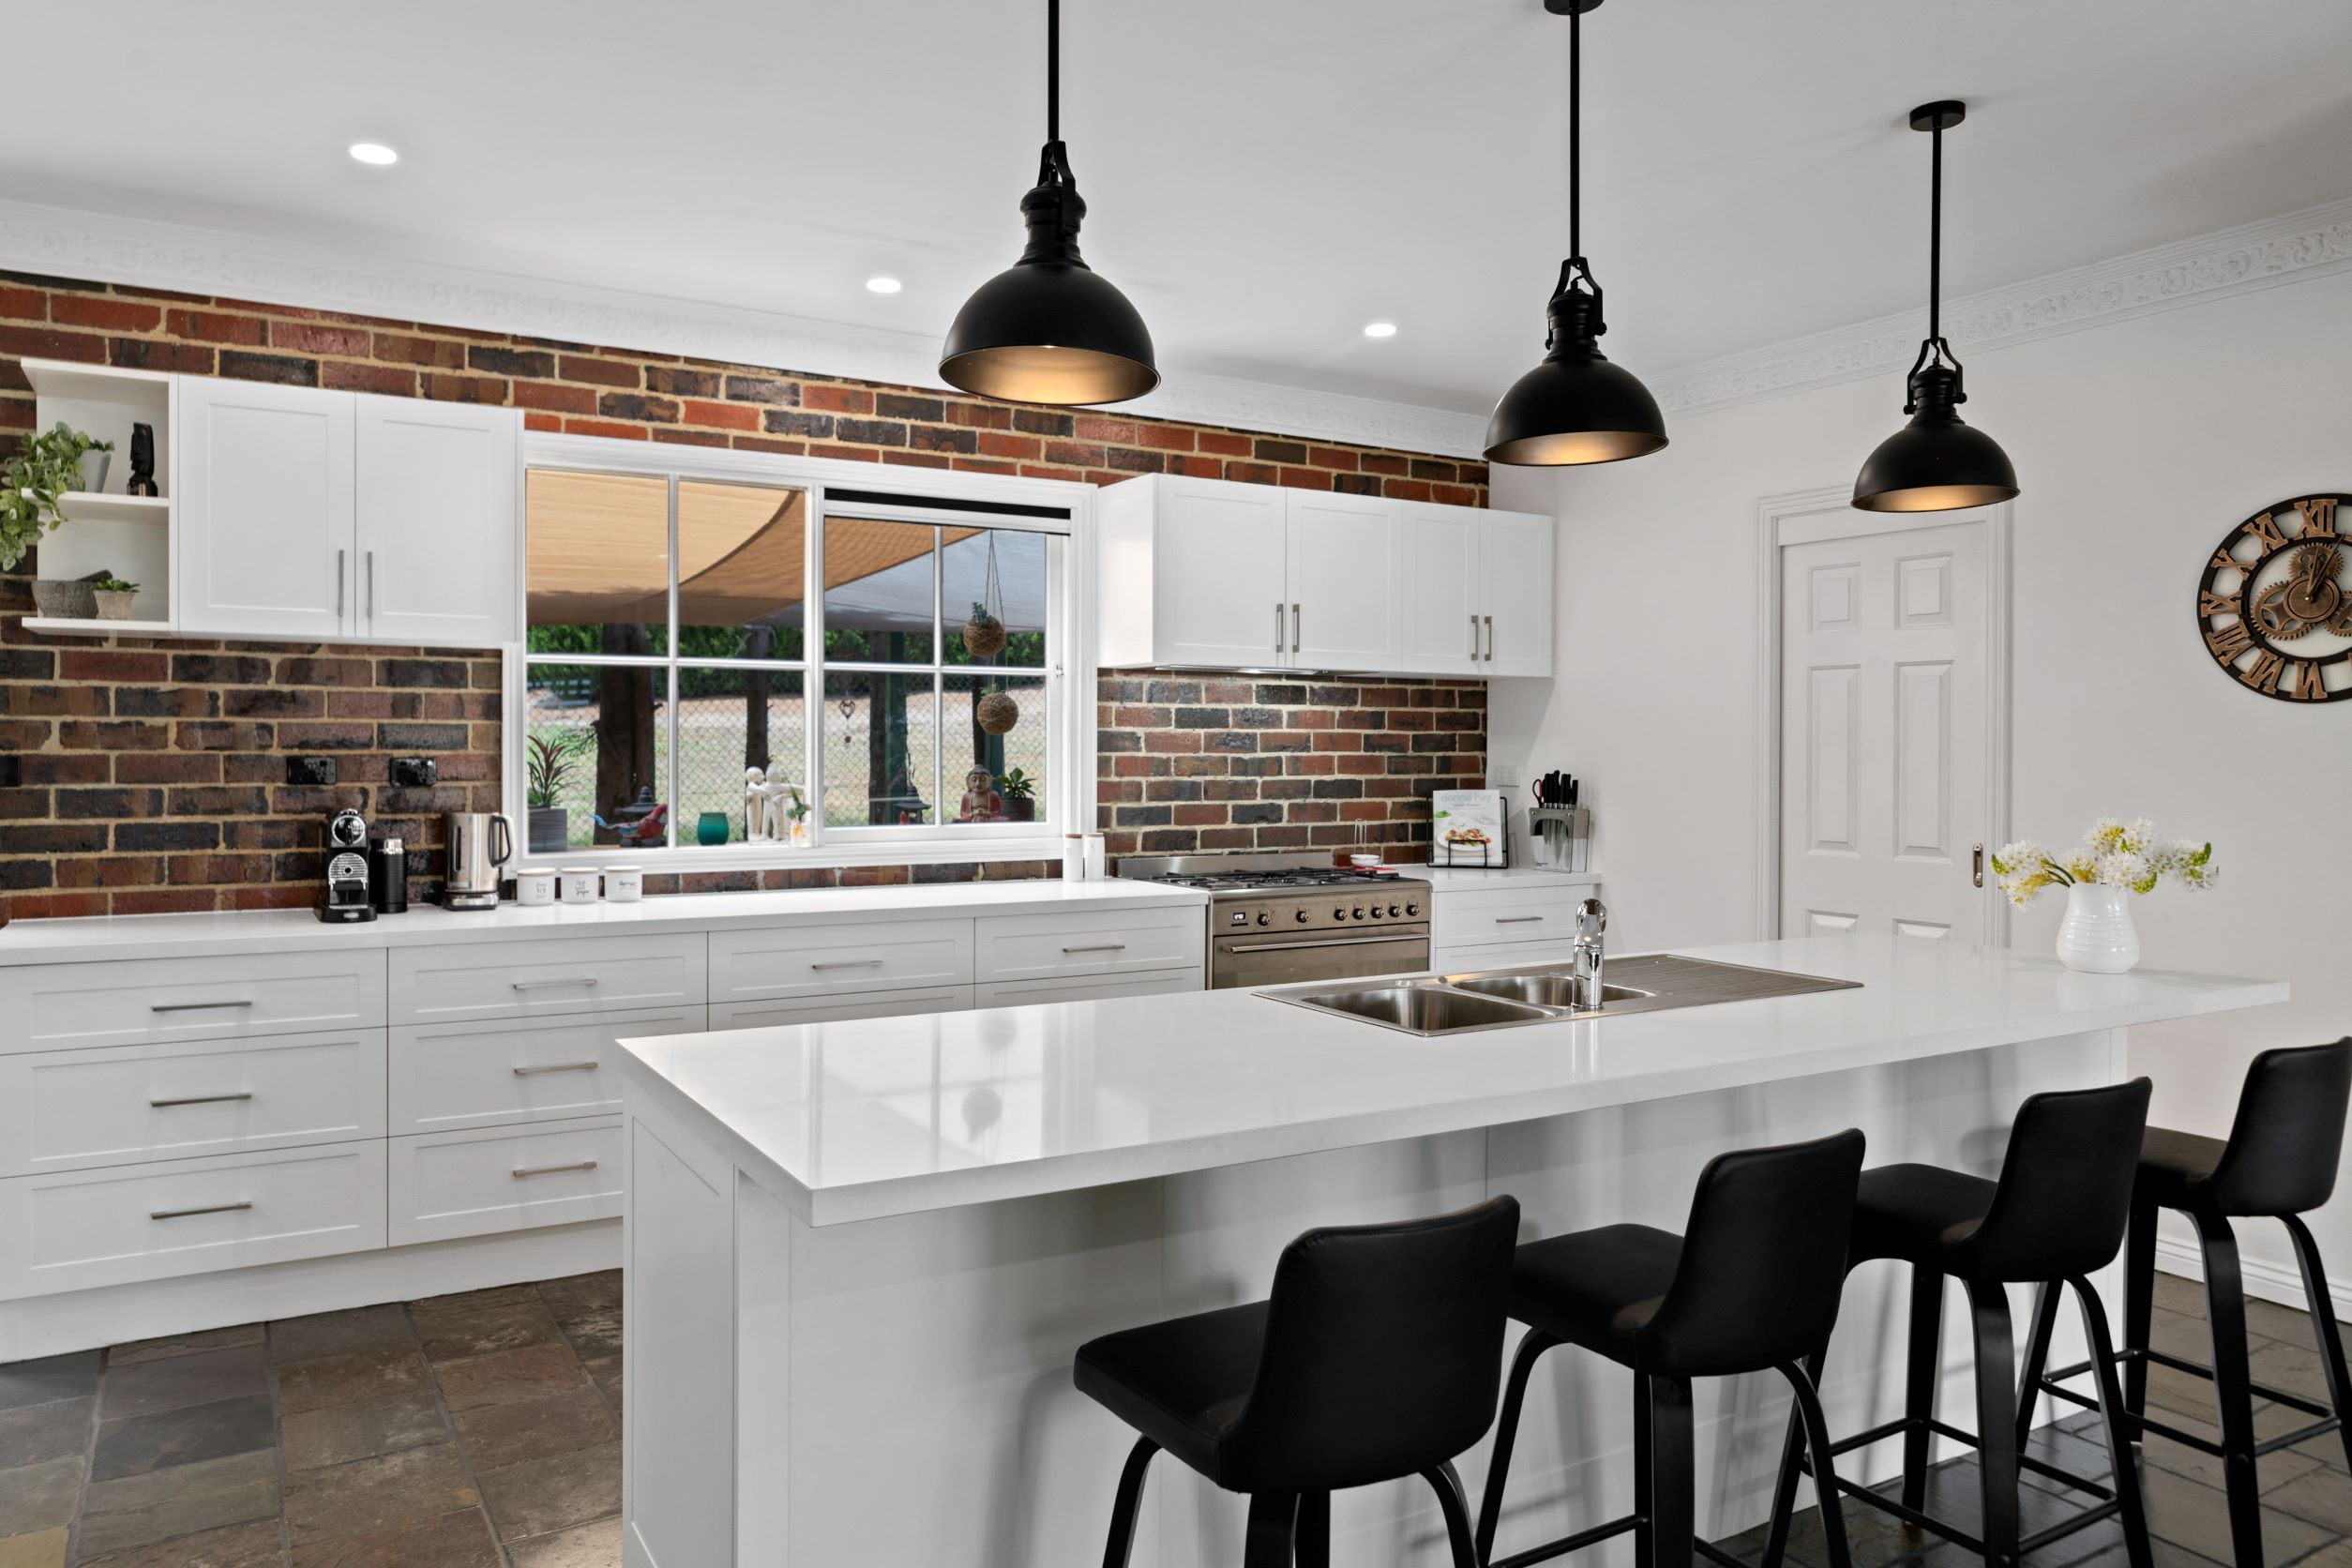
An island bench often becomes the busiest place in the kitchen. It can provide preparation space, storage and seating in one central zone, which makes its dimensions and position important to the way people move through the room.
Think about a normal weekday. You may need a clear bench for making lunches, a homework seat or deep drawers that keep heavy pots close to the cooktop. The strongest island bench ideas grow from those daily habits.
A well-planned island leaves comfortable walking space and lets drawers, stools and appliance doors open properly. With custom kitchen cabinetry, the island can be designed around your room, storage needs and preferred level of involvement in the installation.
What Makes A Good Kitchen Island?
Start With Your Daily Routine
Before choosing colours or a waterfall end, decide what the island needs to do during the busiest hour of the day. Think about preparation space, lunchbox storage, seating and room for serving food.
Choose The Island’s Main Jobs
Two or three clear priorities will keep the design practical. Common choices include:
- Everyday preparation and clean-up, with drawers, bins and a clear work surface close together.
- Family seating, with enough room for breakfast, homework and a quick coffee.
- Entertaining, with open bench space for serving food and gathering with guests.
Once those jobs are clear, your designer can give the right amount of space to each one.
Kitchen Island Layout Ideas
The Everyday Kitchen Island
A clear surface gives you room for chopping, baking and unloading groceries. Deep drawers can hold pots, mixing bowls and small appliances close to where they’re used. An integrated bin makes scraps and packaging easier to clear.
This layout suits a kitchen with wall space for the sink and major appliances.
The Social Kitchen Island
A benchtop overhang of around 300 mm can turn one side into a breakfast bar. Allow about 600 mm of bench length per stool. This creates space for quick meals, homework and chatting while dinner is being prepared.
The Workhorse
This layout combines deep drawers and built-in rubbish bins on the kitchen side with shallow open shelves or hidden push-to-open cabinets on the living side. It can also accommodate a sink, dishwasher or cooktop when space and services allow. Storage on both sides is one of the advantages of custom cabinetry.
The Sink Or Cooktop Kitchen Island
An island sink can create an efficient preparation and clean-up zone. The dishwasher, bins and crockery drawers can sit nearby. Plumbing needs to be planned early, and the sink cabinet will use storage below the bench.
A cooktop needs careful planning around power or gas, ventilation, splash control and hot cookware. Seating directly behind it can feel exposed when pans are in use. Where the layout allows, keeping the island clear of the sink and especially the cooktop preserves an uninterrupted surface for food preparation and entertaining. Your designer and relevant trades should review the full setup before cabinetry is finalised.
The Showpiece Kitchen Island
A waterfall benchtop and a statement finish can make the island the anchor of an open-plan room. Stone or porcelain can create a strong focal point, while profiled cabinet doors, a deeper colour or timber-look detail can add character.
Keep the island bold and the surrounding finishes calm. Giving one feature the lead creates impact without making the wider kitchen feel busy.
How Big Does A Kitchen Need To Be For An Island Bench?
Check The Walkways First
The space around the island decides how comfortable the kitchen will feel. Use these practical starting points:
- Allow at least 1,000 mm around each side of the island.
- Around 1,100 to 1,200 mm may suit a busy walkway or a kitchen used by two people at once.
- Open the dishwasher, oven, fridge and widest drawers on the plan to check how far they extend into the aisle.
- Allow extra passing room where children, pets or a route to the backyard bring traffic through the kitchen.
Your designer can test these clearances against doorways, dining furniture and traffic through the room. Not every kitchen has enough space for an island. In a narrower room, a peninsula can provide similar bench space, storage and seating without restricting the walkways.
Choose The Island Bench Depth
A cabinetry-only island may begin at around 600 mm deep. Seating increases the total depth because stools need knee room beneath the benchtop. Storage on the seating side will add further depth.
Many family islands finish between 900 and 1,200 mm deep. Test the dimension against your reach because a broad surface can make the centre awkward to use and clean.
Plan The Island Bench Length
The length should follow the available clearance, cabinet widths and seating count. An island around 1,200 mm long can add preparation space to a compact kitchen. Longer designs can accommodate several seats, wide drawers or an appliance zone.
Plan the cabinetry at the same time as the overall length. Wide drawers often make pots, plates and pantry containers easier to see and reach.
Plan Comfortable Island Bench Seating
Allow Space For Each Stool
An overhang of around 300 mm is common for casual seating at standard kitchen bench height. The right depth depends on the benchtop material, thickness and support beneath it. Larger overhangs may need brackets, legs or another support system approved for the selected surface.
Choose the stools during the design stage. A wide seat, curved back or armrest changes how many people can sit comfortably along the island.
Check The Space Behind The Stools
Pull the stools out on the floor plan. A wall, dining table or walkway can make the seating area feel cramped. Leave a comfortable route behind seated people in a busy part of the room.
Position the stools clear of the open oven, dishwasher and main path between the fridge, sink and cooktop. Guests can settle in while the cooking zone keeps moving.
Choose Useful Kitchen Island Storage
Plan The Working Side
Deep drawers are one of the most practical choices for an island. They bring heavy pots, plates and containers into view and save you reaching into the back of a cupboard. Internal kitchen storage can separate utensils, cookware and everyday supplies within the same drawer bank.
Pull-out bins work well near the main preparation space. An appliance cabinet can also give a mixer, air fryer or food processor a permanent home close to a power point.
Add Storage Beyond The Working Side
If space allows, shallow cupboards can be built into the ends or outer side of the island. This adds storage without crowding the main working area, but it needs to be planned around seating and legroom.
Plan Power, Lighting & Services Early
Add Power Where You’ll Use It
Plan power points into the island cabinetry or at the side for laptops, phone chargers, cooking appliances and vacuum cleaner access. Their location must meet electrical requirements and suit the cabinetry design. An electrician can advise on compliant positions and the supply route before manufacture. Retrofitting points later can involve extra work and cost.
Line Up The Lighting
Pendant lights can define the island and provide task lighting. Check their position against sightlines, ceiling height and the full island length so they align with the cabinetry.
Confirm Services Before Manufacture
Water, drainage, electricity, gas and ventilation can affect the floor, cabinetry and construction sequence. Confirm the required services during design so the relevant trades can plan their work before installation begins.
Choose An Island Benchtop & Finish
The island benchtop is often the largest surface in the room, so choose for durability as much as appearance. Consider cleaning, maintenance and the care required around heat, impact and staining, and follow the manufacturer’s instructions for the selected product.
Laminate can keep the budget under control while still providing a durable everyday surface. Porcelain is highly heat resistant and can generally take hot pots directly on the surface, although the manufacturer’s care instructions should always be followed. Stone surfaces can give the island a more substantial, luxurious finish.
Compare Colours & Finishes In Person
View large samples where possible. Colour, pattern and sheen can change under natural light, pendant lighting and showroom lights. Compare the benchtop with your chosen cabinet doors and handles.
Decide On The Island Ends
A waterfall end continues the benchtop material down one or both sides of the island. It creates a strong visual edge and adds material and fabrication to the project. A matching cabinet panel gives the island a clean finish and can keep more room in the budget for drawers, storage or appliances.
Choose Fully Installed, Hybrid Or DIY
Every island is made to measure, and you decide how much of the build you take on. The same custom cabinetry is available whichever path you choose:
- Fully installed, with Kitchens U Build completing a check measure and the cabinetry installation.
- Hybrid, where you handle suitable parts of the project or arrange some of your own trades.
- DIY, where Kitchens U Build manufactures the cabinetry to your measurements and you handle assembly and installation for a lower project cost.
Any plumbing, electrical or gas work needed for the project must be completed by the appropriate licensed trades. Talk through the division of work during design so everyone understands the sequence before manufacture begins.
Plan Your Island Bench With Kitchens U Build
Bring your room measurements, floor plan, appliance details and a few photos to a free, obligation-free design consultation. A Kitchens U Build designer can test the island size against the walkways, open appliance doors, seating and storage you need.
Your island will be designed as part of the whole kitchen, with custom-made cabinetry manufactured at our Bayswater facility. You can also visit a Kitchens U Build showroom to compare doors, benchtops, handles and internal storage, then choose an installation option that suits your project.
FAQ
How Much Space Do You Need Around A Kitchen Island?
Allow at least 1,000 mm around each side of the island. Busy walkways and kitchens used by two people may need 1,100 to 1,200 mm. The final clearance should account for drawer depth, dishwasher and oven doors, fridge access and the number of people using the room.
How Deep Should A Kitchen Island Be With Seating?
An island with seating often finishes between 900 and 1,200 mm deep. That can allow for cabinetry on the working side and knee room beneath the seating edge. The exact depth depends on the cabinet plan, benchtop support, stool size and available walkway space.
Can You Put A Sink In A Kitchen Island?
Yes. An island sink can work well when the dishwasher, bins and preparation storage are planned around it. The design needs enough space for the sink cabinet, plumbing and benchtop, and the required services should be confirmed before cabinetry is manufactured.
Is A Kitchen Island Better Than A Peninsula?
The right choice comes down to room width and traffic flow. A freestanding island gives access from every side. A peninsula keeps one end connected to the main cabinet run and can suit a narrower room while still providing storage, preparation space and seating.